
Editing tif real estate photos in lightroom , is a widely recognized format in the realm of real estate photography, primarily due to its ability to maintain high image quality throughout the editing process. One of the significant advantages of TIF files is their lossless compression method, which ensures that no detail is compromised when saving and editing images. This characteristic is particularly critical in real estate photography where the clarity and richness of details are essential in presenting properties effectively to potential buyers.
Understanding TIF Files and Their Advantages in Real Estate Photography
Additionally, TIF files support a 16-bit color depth, which significantly surpasses the 8-bit depth typically found in JPEG files. This extended color range allows for more precise color representation and smoother gradients, Photo editing particularly suitable for capturing the varied hues present in architectural materials or natural lighting conditions. The enhanced fidelity of TIF images contributes to a more professional presentation, which is pivotal in high-end property listings.
When comparing TIF files to other formats, such as JPEG, the advantages become even more pronounced. While JPEG files are more convenient for quick sharing and may suffice for casual photography, their lossy compression results in a loss of detail that can prove problematic for extensive editing. In contrast, TIF files remain unscathed by such compromises, providing photographers with significant editing flexibility, whether it involves adjustments to exposure, contrast, or color saturation. This makes TIF the superior choice for real estate photographers aiming to create striking visual presentations that elevate property appeal. Emphasizing the importance of TIF files can lead to higher-quality results and more compelling imagery in the competitive real estate market.
Essential Lightroom Tools for TIF Photo Editing
Adobe Lightroom is an indispensable resource for real estate photographers working with TIF files, offering a suite of powerful tools that streamline the editing process. One of the primary features that stands out is the color correction tool, which enables photographers to enhance the vibrancy and realism of their images. By utilizing the HSL (Hue, Saturation, Luminance) panel, users can fine-tune individual colors, ensuring that the property’s nuances are accurately represented in the final output.
Another critical component of the Lightroom toolkit is the exposure adjustment feature. This tool allows for precision editing, enabling photographers to adjust the brightness and contrast of their images without compromising quality. A careful manipulation of highlights and shadows can significantly enhance details within the images, which is particularly important in real estate photography where the goal is to showcase properties in the best light possible.
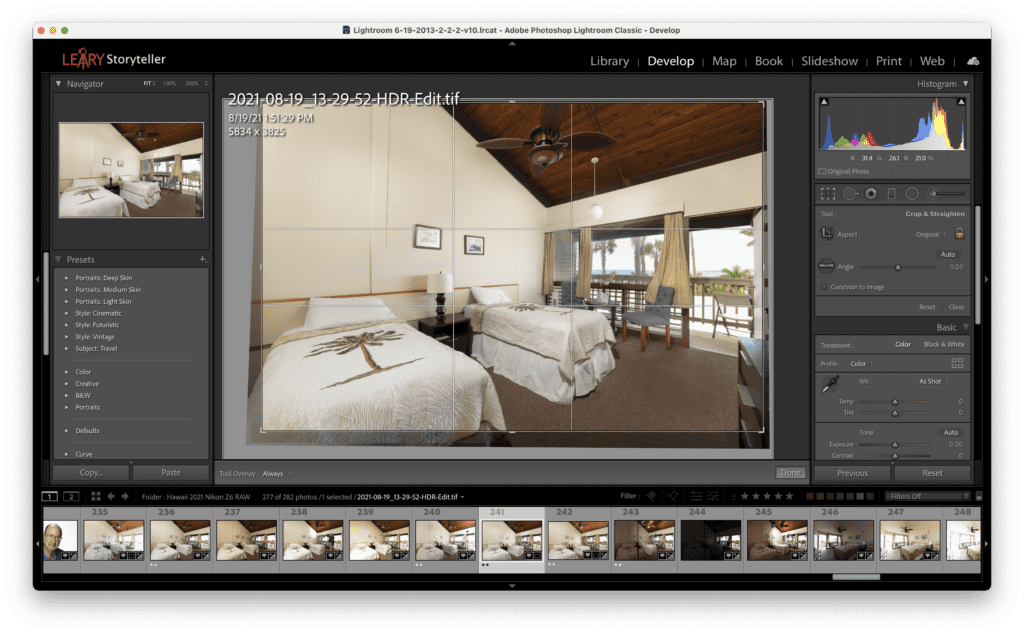
The crop and straighten tools are equally vital when working with TIF files. These features allow editors to recompose images with ease, ensuring that vertical lines remain straight and proportions appear natural. Proper alignment can magnify the appeal of a listing and eliminate distractions from the viewer’s eye.
Utilizing presets can also save considerable time while maintaining a consistent look across different images. Light modifiers can be pre-saved to establish a cohesive visual style, enhancing branding efforts for real estate professionals. Additionally, the adjustment brush and graduated filters facilitate localized enhancements; these tools give photographers the ability to selectively brighten or add contrast to certain areas, further elevating the overall quality of the photographs.
By mastering these essential tools within Lightroom, real estate photographers can significantly improve their TIF photo editing workflow, producing stunning images that resonate with potential buyers.
Step-by-Step Guide to Editing TIF Real Estate Photos in Lightroom
Editing TIF real estate photos in Lightroom begins with a structured workflow that ensures efficiency and high-quality results. First, import your photos into Lightroom by selecting the “Import” option found on the Library module. Navigate to the folder where your TIF files are stored, choose the images you want to edit, and click “Import.” During this process, you can add metadata and apply any preset settings to streamline your workflow.
Once imported, organize your images by creating collections, applying keywords, and using star ratings or flags to highlight the best shots. This organization simplifies finding your images later and allows for more efficient batch editing. After sorting, switch to the Develop module for photo adjustments. Begin with basic corrections: use the Crop tool to improve composition, adjust white balance to ensure colors appear accurate, and fine-tune exposure levels for ideal brightness.
Next, enhance your images creatively. Utilize tools such as the Graduated Filter and Radial Filter to selectively brighten areas, draw attention to specific features, or enhance sky details. You can also adjust clarity, contrast, and saturation to make the images pop. The use of the HSL (Hue, Saturation, Luminance) panel offers even more refined color adjustments tailored to your artistic vision.
In the final stages of your editing process, consider the export settings. Navigate to the “Export” option and define your settings based on where the images will be used. Whether for online listings, printed brochures, or social media, ensure you’re using the appropriate resolution and file format while maintaining the quality of your TIF images. Using Lightroom’s export presets can significantly expedite this final step, allowing for consistent results across various platforms.
See more articles: Outsource real estate photo editing
This step-by-step guide empowers photographers to master the art of editing TIF real estate photos in Lightroom, ensuring each image is optimized for maximum impact.